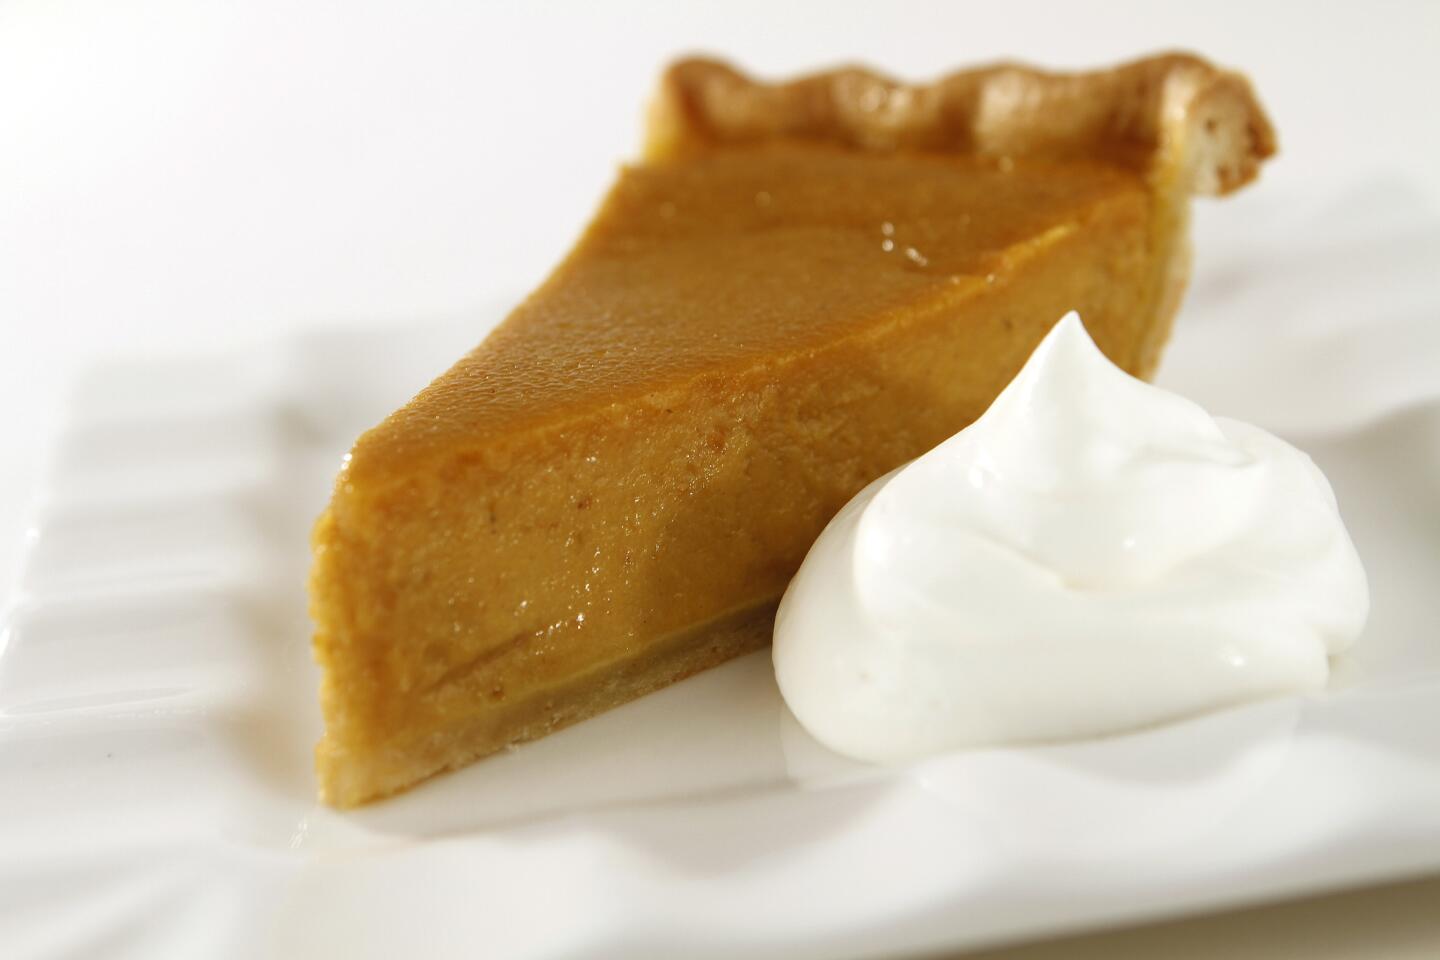
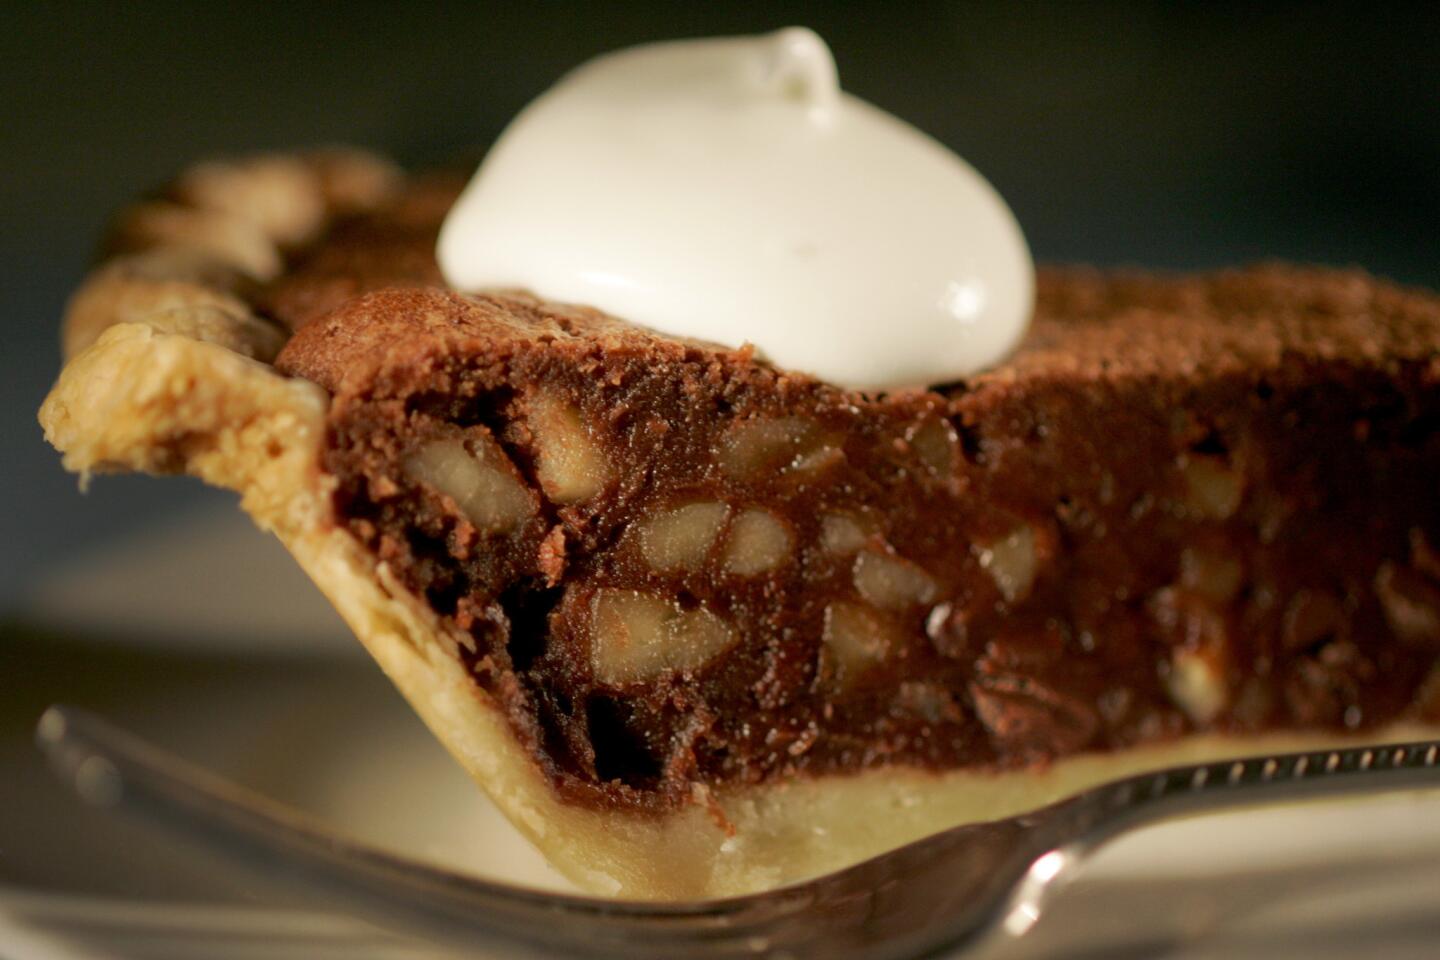
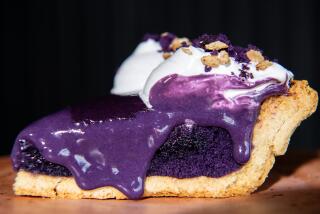
Everything you need to know to make great pie -- and 52 terrific pie recipes
You know February is National Pie Month, right? If you haven’t celebrated yet, there’s no time like the present. If you’ve got some extra time this weekend, celebrate with a homemade pie or two.
Here are some tips and tricks to take your pies to the next level:
CRUST
RECIPES: 52 favorite pies from the L.A. Times Test Kitchen
Passionate pie bakers tend to have a religious zeal about what type of fat goes into their crust, and not without good reason. The type of fat determines flavor, and can influence the final texture of the crust. Do you use butter, shortening or lard?
Although butter adds flavor, over-mixing -- or “over-working” -- the butter while you’re making pie dough can cause the final crust to become tough and crunchy, rather than light and flaky.
Conversely, shortening’s high melting point will give you a light and flaky crust, but one that lacks the rich flavor found with butter.
Lard, especially “leaf” lard (the most prized lard for pie-making), will give a wonderfully light and flaky crust, though it also lacks the richness of flavor you will find in a butter-based crust. (Some recipes also call for oil, which can lend interesting flavor, but results in a crust more mealy in texture.)
Over the years, I’ve taken to making my crust using butter and shortening. The trick is determining when to add the fats. I add the shortening first, cutting it in with flour before adding the butter, which I pulse only briefly to incorporate it into the dough.
KITCHEN TIPS: Simple tips and tricks from the L.A. Times Test Kitchen
Whichever recipe you use, keep your ingredients cold when forming the pie dough. I chill everything first, even the flour (measure the flour first, then freeze it for 30 minutes or so before using). The act of making the dough -- pulsing or cutting your fats in with the flour -- can generate heat, which can toughen the dough if you’re working with a delicate fat such as butter.
One additional tip here: I always add a touch of vinegar to my pie dough. The cider vinegar is used to help “shorten” the crust, improving the texture. Though you might smell the vinegar as you roll out the crust, you won’t taste or smell it in the finished pie.
USING A FOOD PROCESSOR FOR PIE DOUGH
VIDEO Tips for using a food processor for doughs
If you’ve never made a pie dough, or other quick doughs, in a food processor, I can’t stress how wonderfully simple and easy the whole process is. Add the dry ingredients to the bowl of a food processor and pulse a few times to combine. Add the cold butter chunks and give the processor a couple whirs to incorporate, then pulse in the liquid ingredients just to combine. The steps may vary slightly depending on the recipe, but that’s pretty much it. Voilà.
Many recipes now include dual methods for mixing -- mixing bowl and food processor methods, but even older recipes should work in a processor; it just takes a little adaptation. And a food processor is especially great if you’re pressed for time or are working in a warm kitchen.
If you do use a food processor, remember that the blades rotate quickly and that it’s easy to overprocess the dough, which will make it tough. I frequently pause between pulses to gauge where I am, just to make sure nothing is overmixed before proceeding.
ROLLING OUT PIE (AND COOKIE) DOUGH
VIDEO: Tips for rolling out doughs
To keep the dough even while rolling out your pie crusts and cut cookies, work the rolling pin in the center of the dough and don’t roll all the way to the edges. You’ll have greater control over the thickness of the dough if you keep the pin toward the center of the dough -- the closer you get to the rim, the more likely you are to roll the pin off the edges, flattening them and making the dough uneven. Rotate the dough a quarter-turn each time you roll to make sure the thickness remains even. Check out this video for a quick demonstration.
BLIND- AND PAR-BAKING THE CRUST
VIDEO: Blind- and par-baking crust tips
Blind baking, or pre-baking a crust, is common when you are using a filling in the pie shell that does not need to be baked, or that bakes up quickly. Both flaky pie and short tart crusts need to be weighted before baking so the pastry doesn’t puff on the bottom or slip on the sides.
To blind-bake a crust, line the dough with foil, parchment or a large coffee filter, then fill it with weights. You can use formal pie weights -– the ceramic or metal weights you can buy in a store -– or keep it simple and use rice or dried beans.
Most recipes will specify the temperature you need to blind-bake a crust, generally calling for a higher temperature. The higher temperature gives the crust a chance to set quickly before the fat melts and softens the dough.
Depending on the size of the crust, you’ll want to blind-bake it for 15 to 25 minutes to set the sides and edges. Then remove the weights, dock the crust if needed, and continue to bake until the center of the crust is set, 5 to 10 minutes to par-bake, longer if the crust is to be fully baked.
CREATIVE PIE CRUST BORDERS
VIDEO: Tips and ideas for creative pie crusts
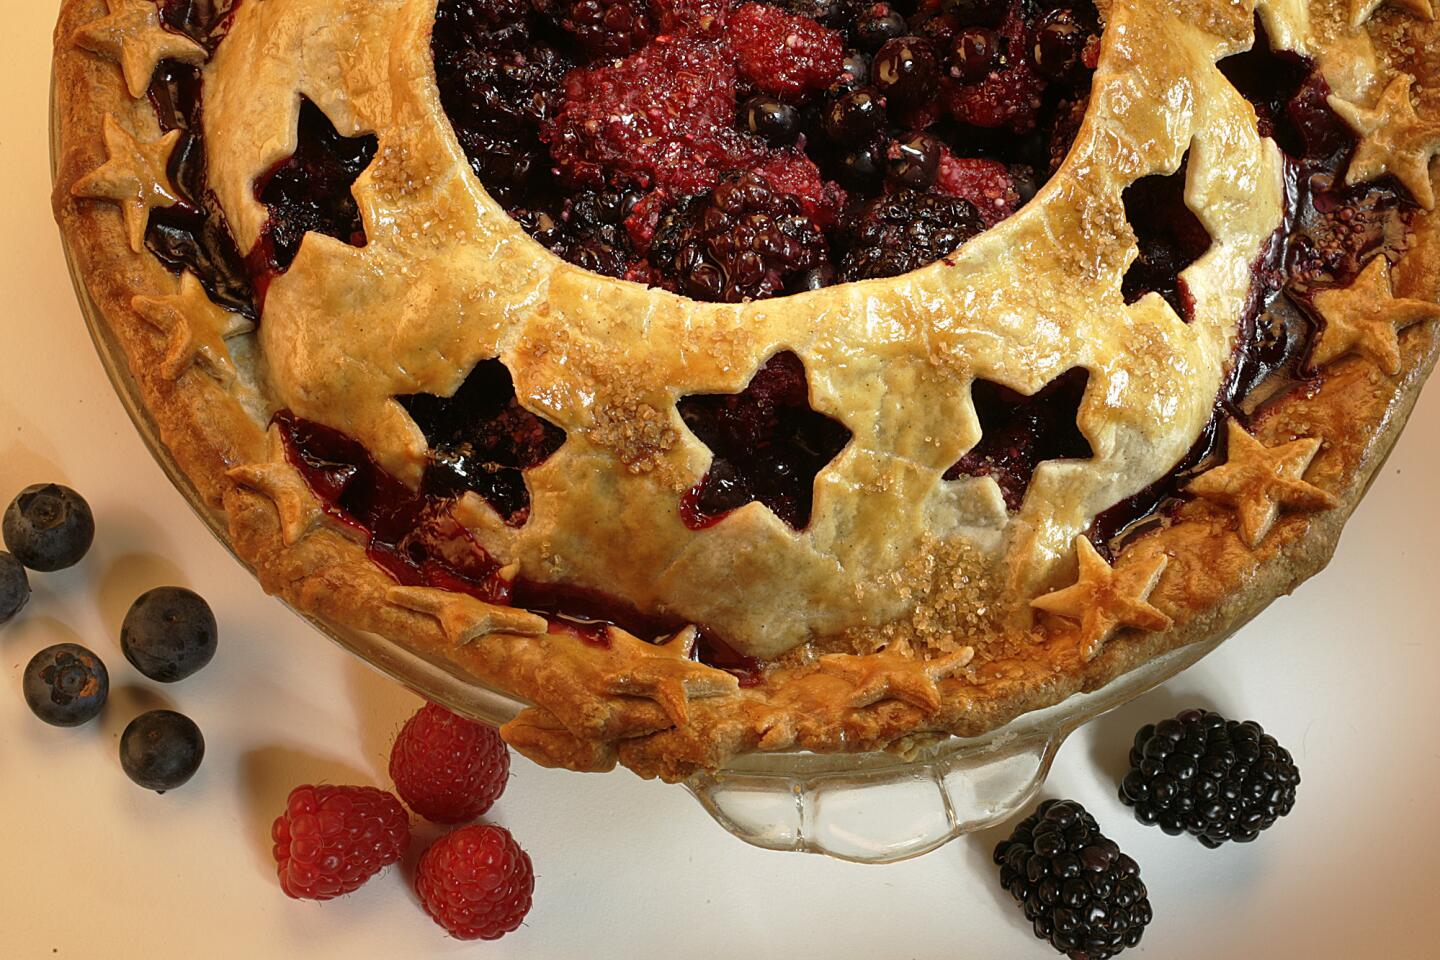
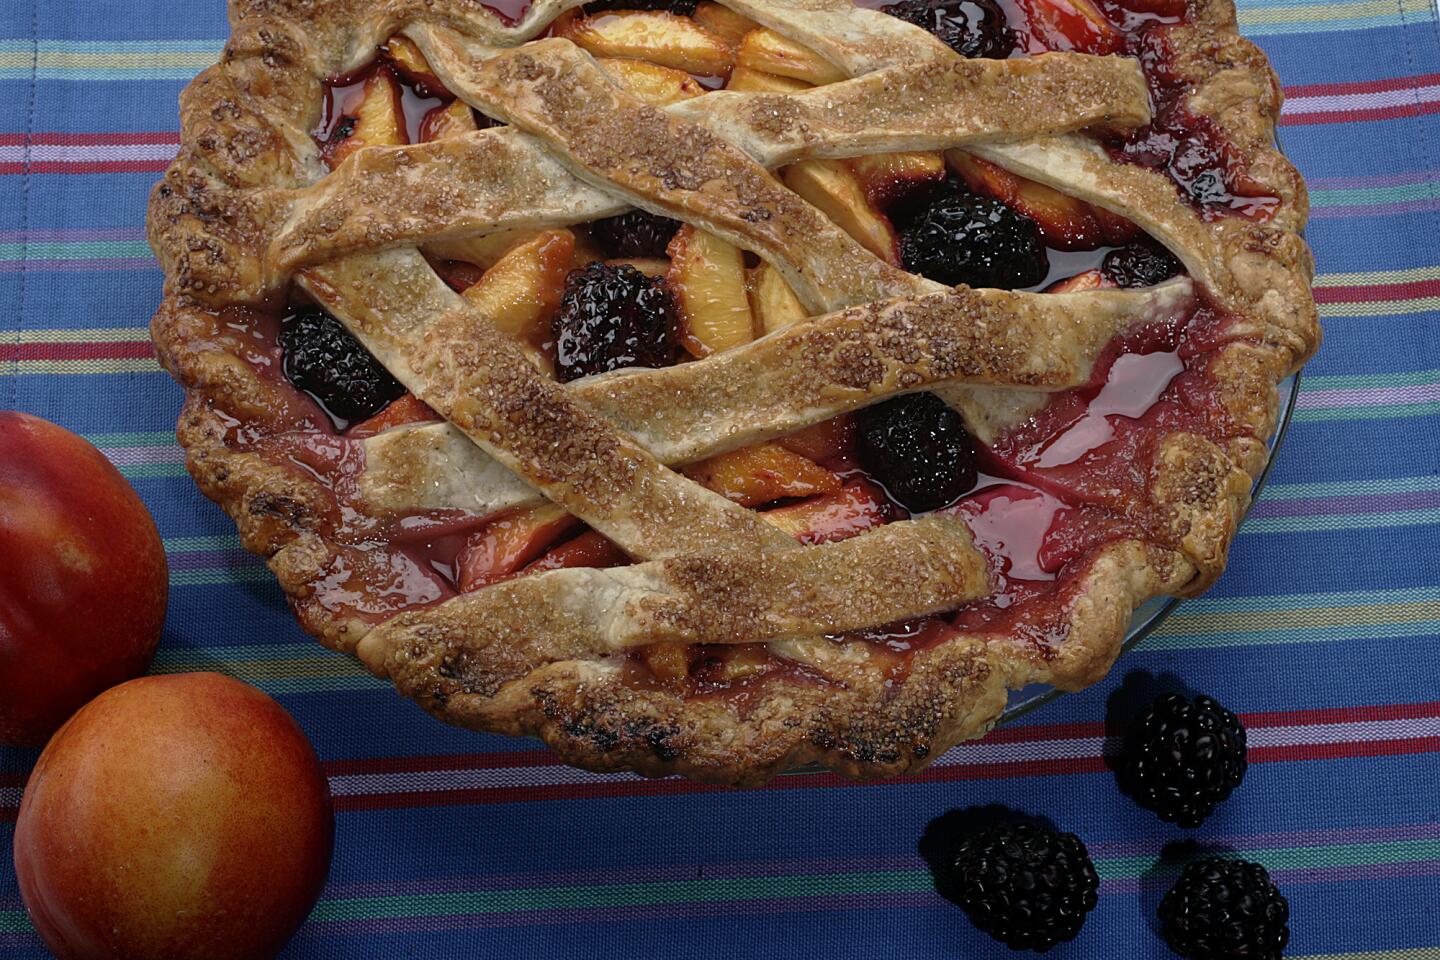
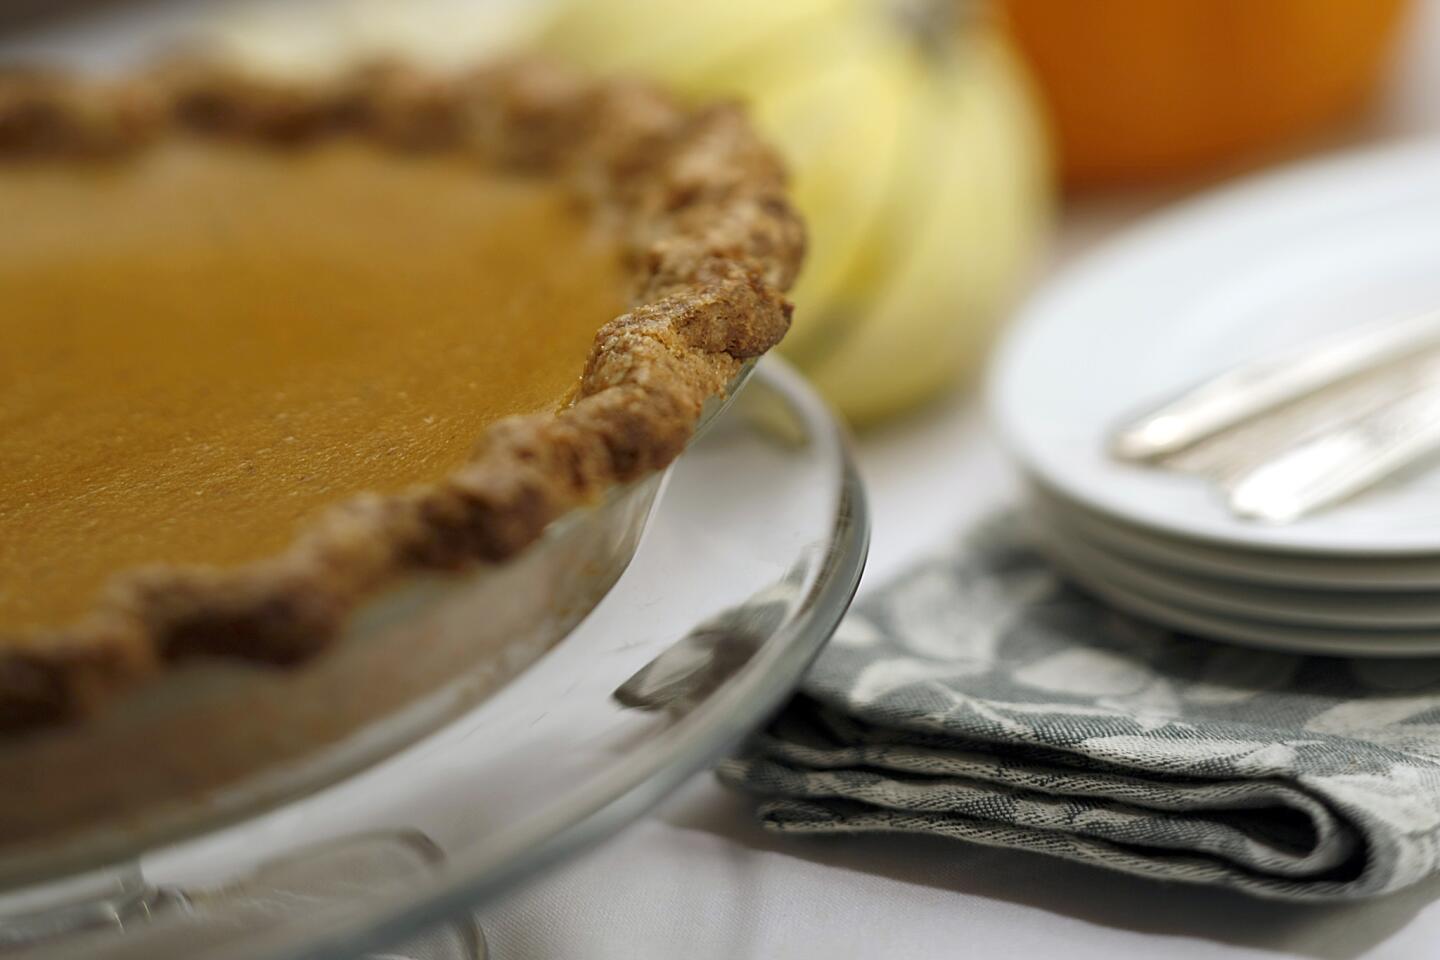
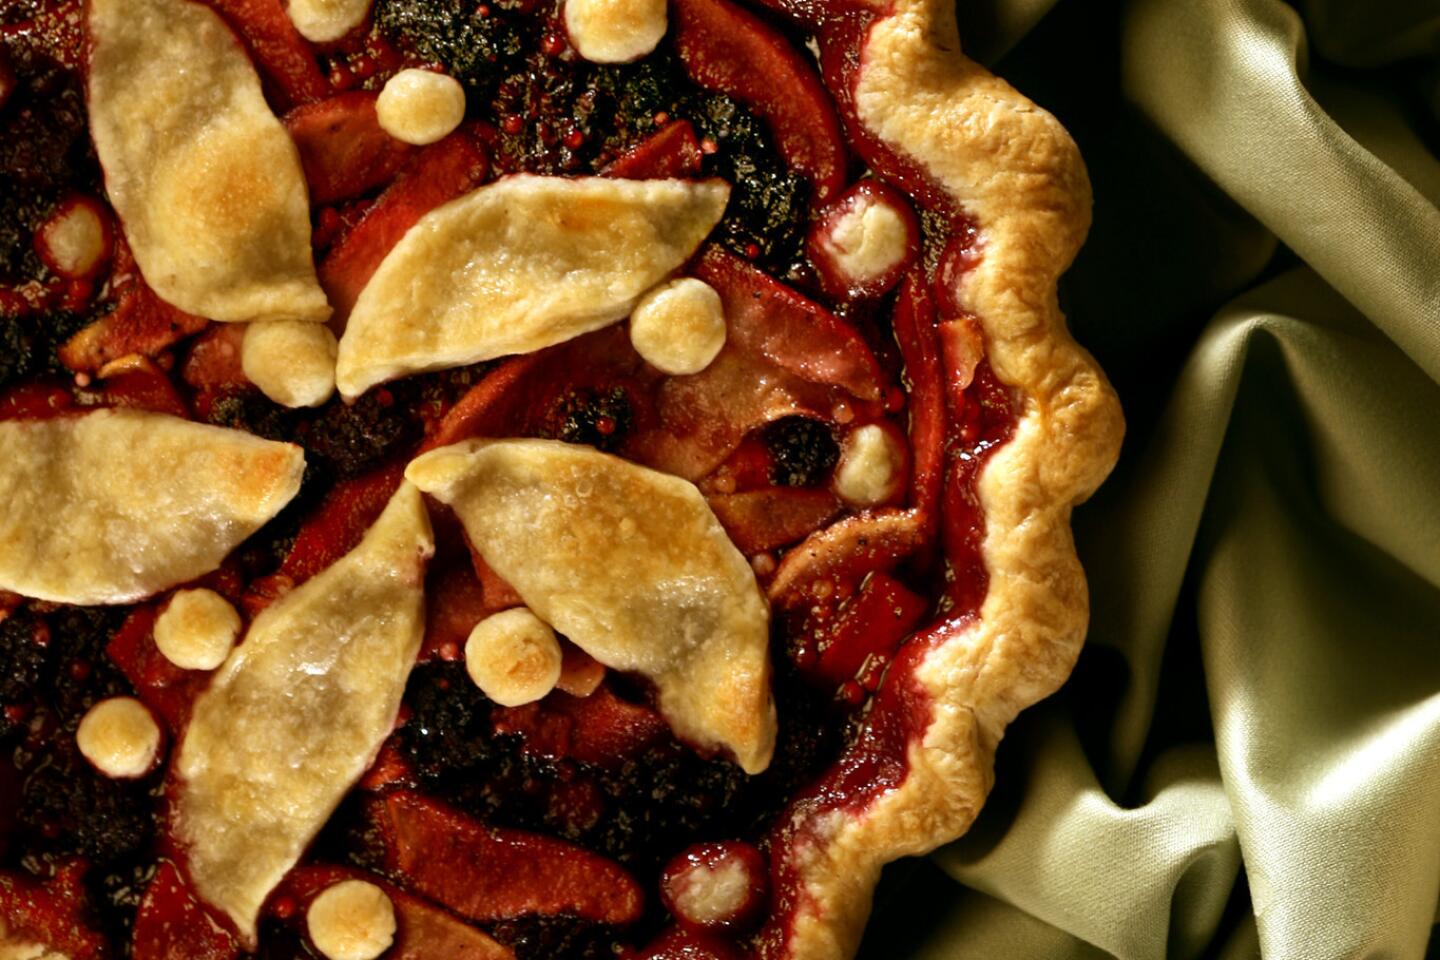
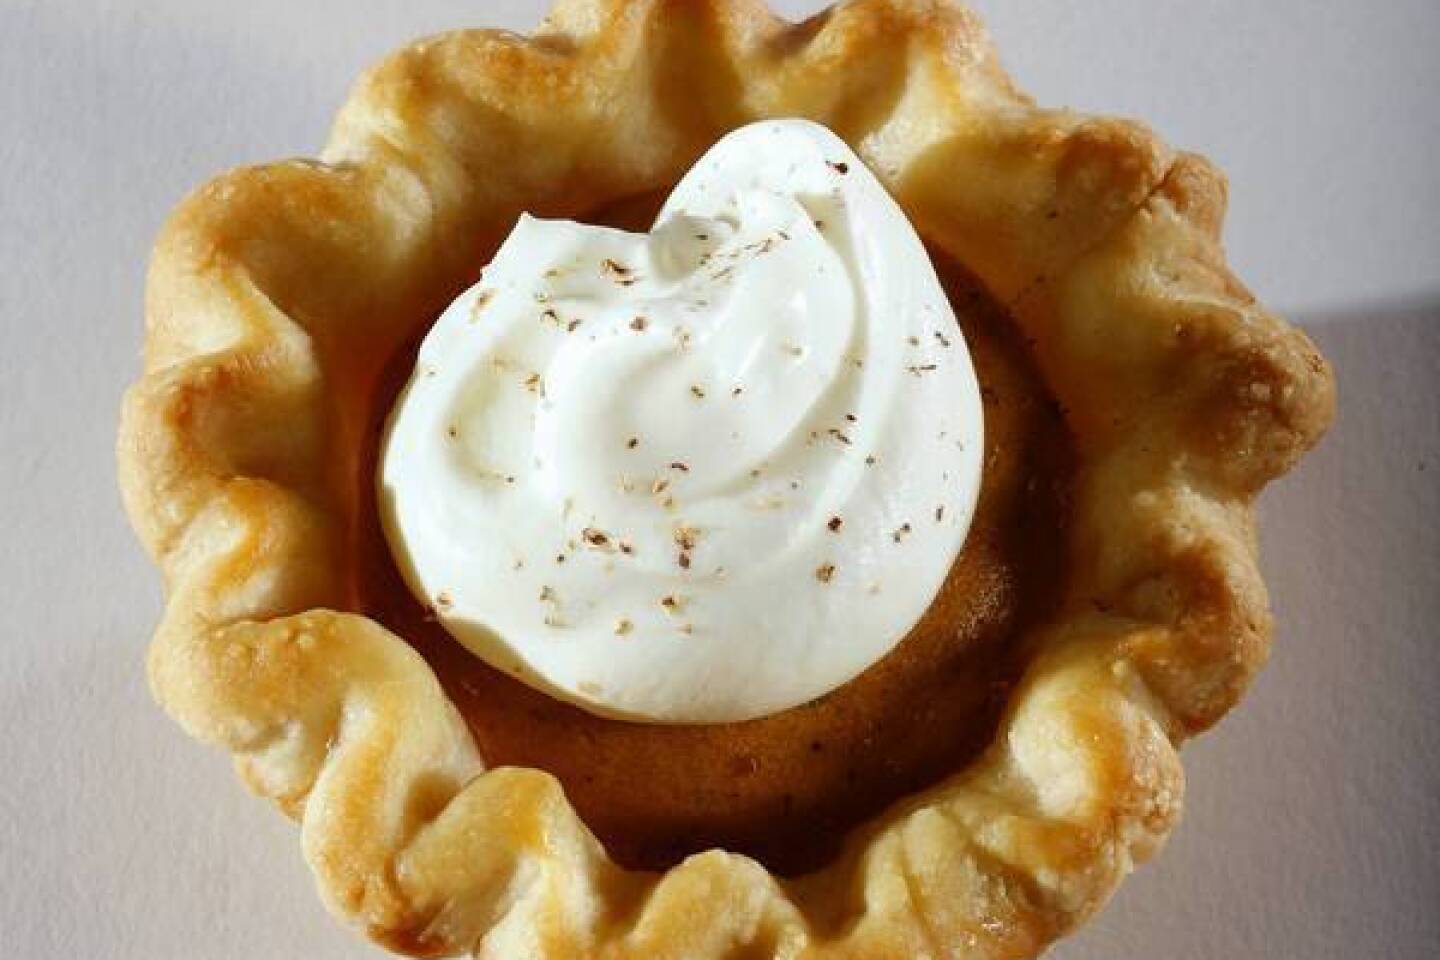
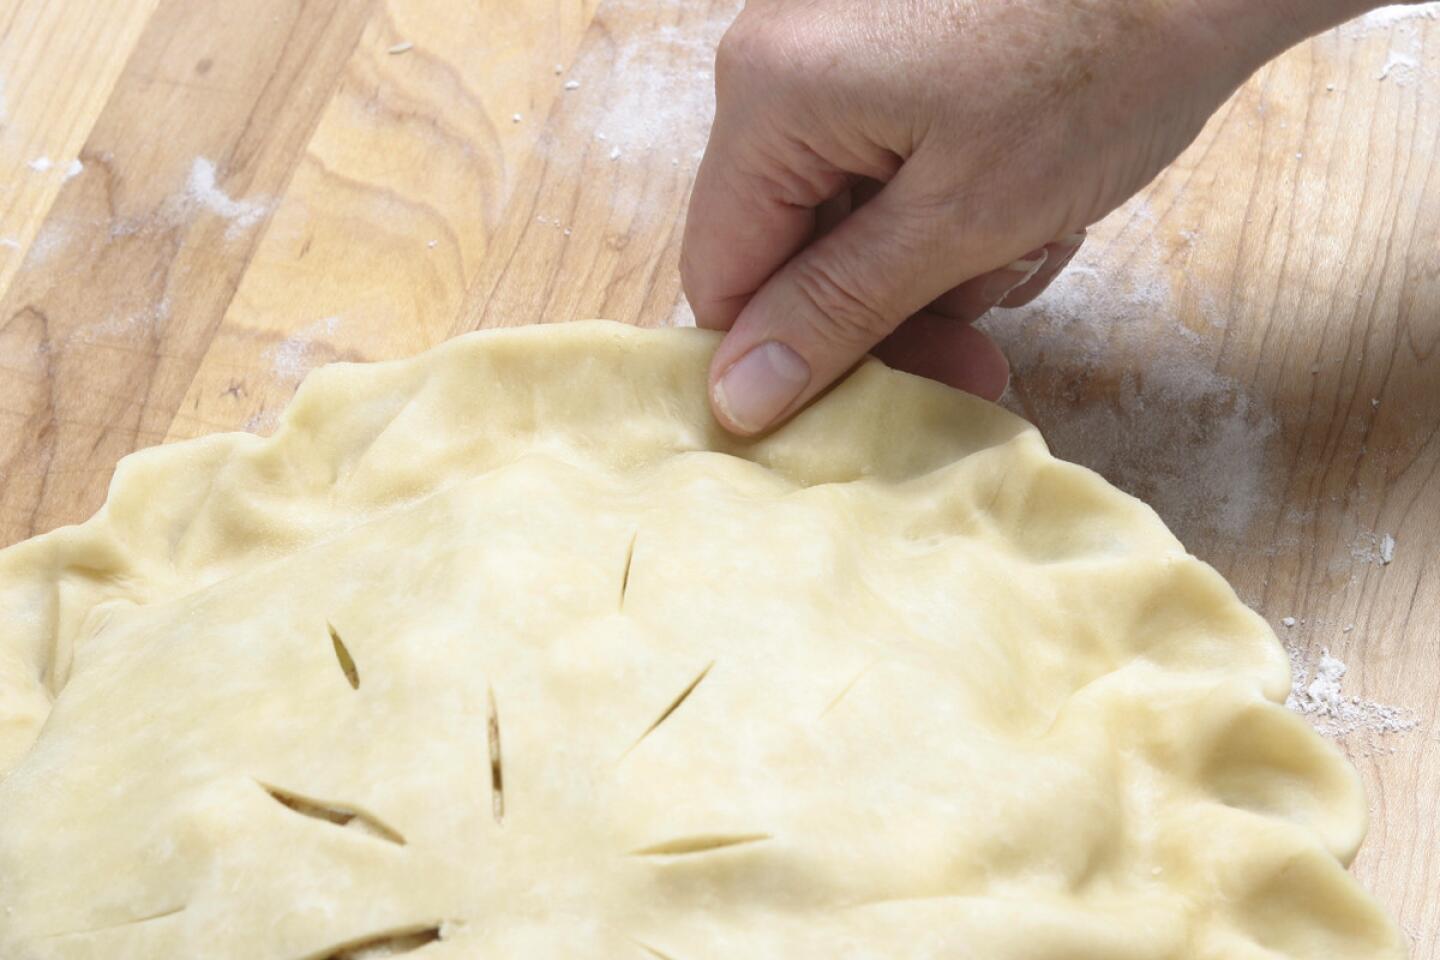
When you’ve gone to the trouble of making a homemade pie, you want the work to show. Even if you’ve made a lot of pies, sometimes you want to do things a little different for each pie to keep it fresh and dazzle your guests. One of the easiest ways to impress is with the pie border. There are so many ways to shape and decorate the crust. Check out the video above for some ideas.
Here are a couple of quick tips for working with pie dough. Pie dough is temperature-sensitive, and needs to be kept as cold as possible while you’re handling it. If your fingers get too warm while working the dough, grab an ice cube or two, or soak them in ice water to cool. If the dough softens and becomes sticky, dust your fingers with a little flour, or place the dough in the fridge to chill.
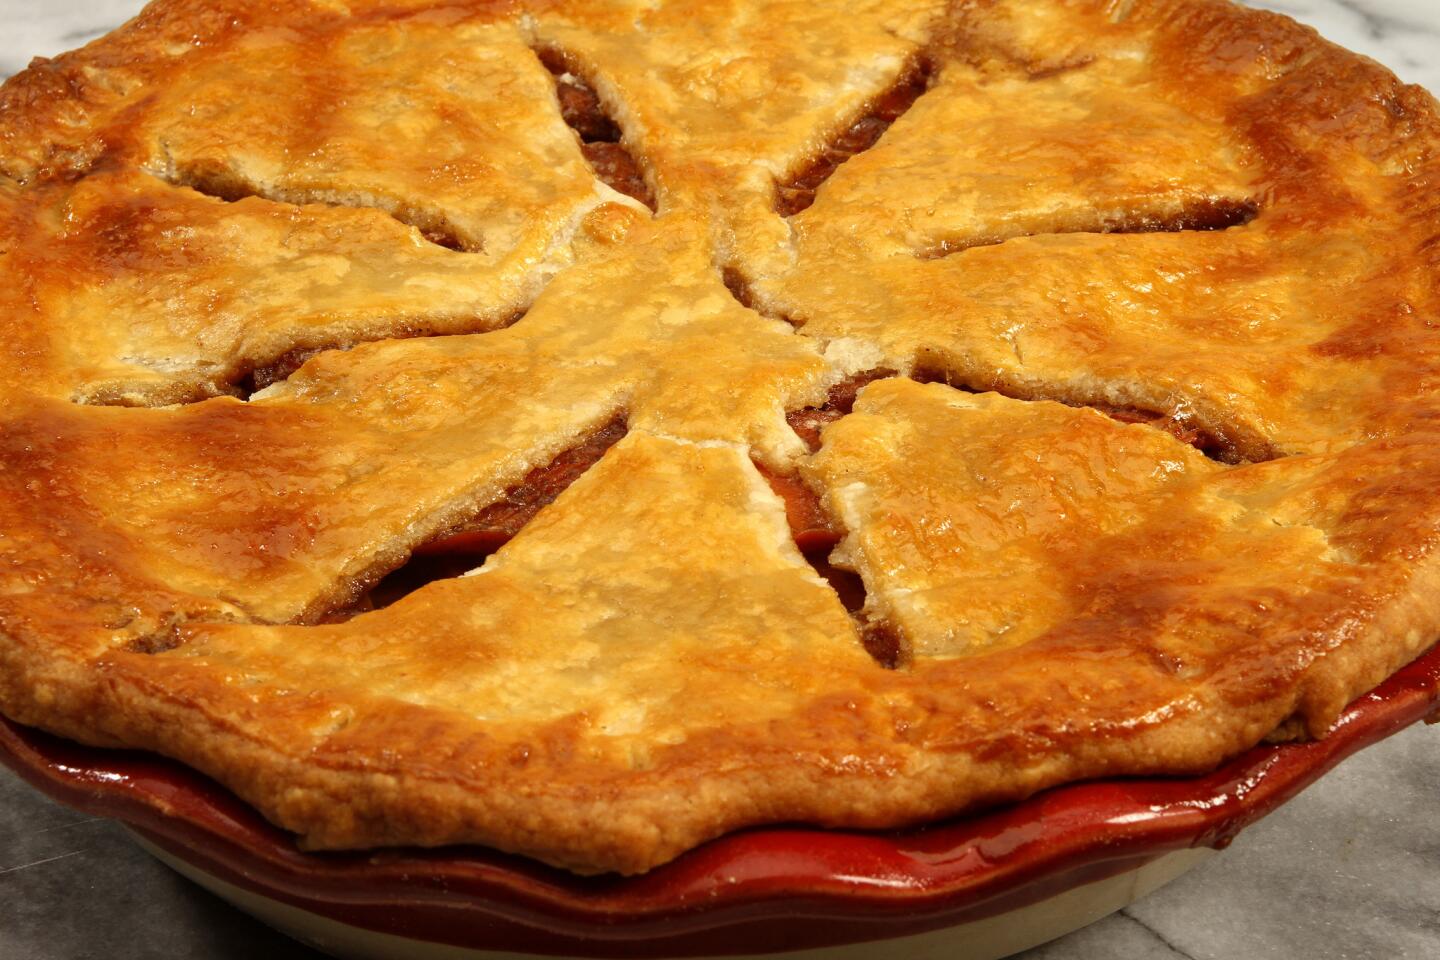
Want to give your finished crust a nice sheen? A brushing of egg white will do the job, and a brushing of beaten whole egg will provide both color and sheen. Add a little water to the egg to thin, if it’s too thick to brush.
FRUIT PIES: QUALITY COUNTS
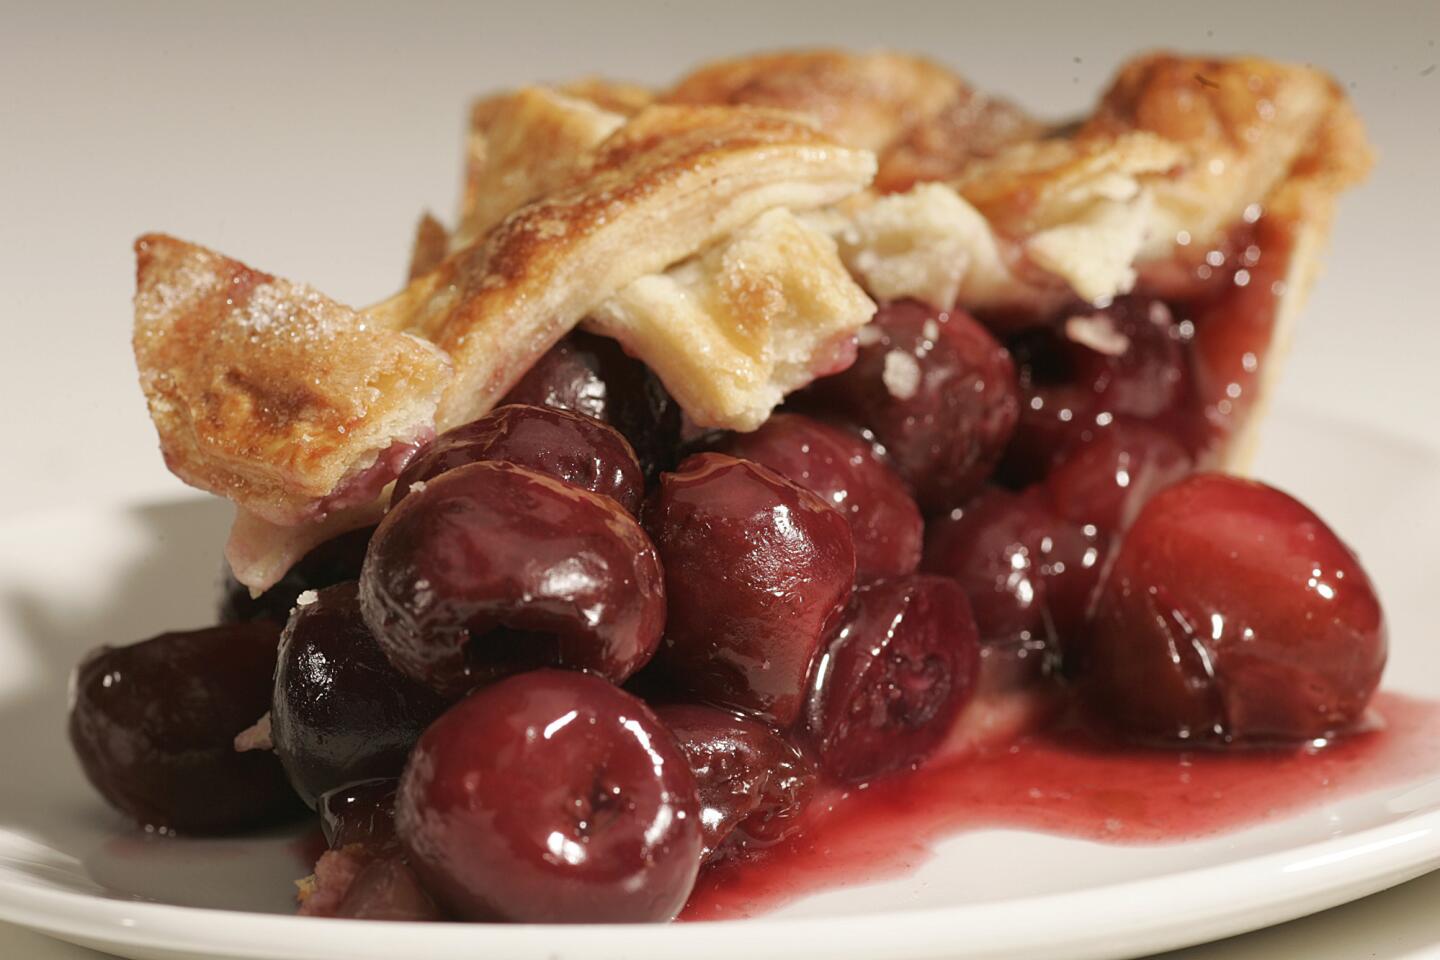
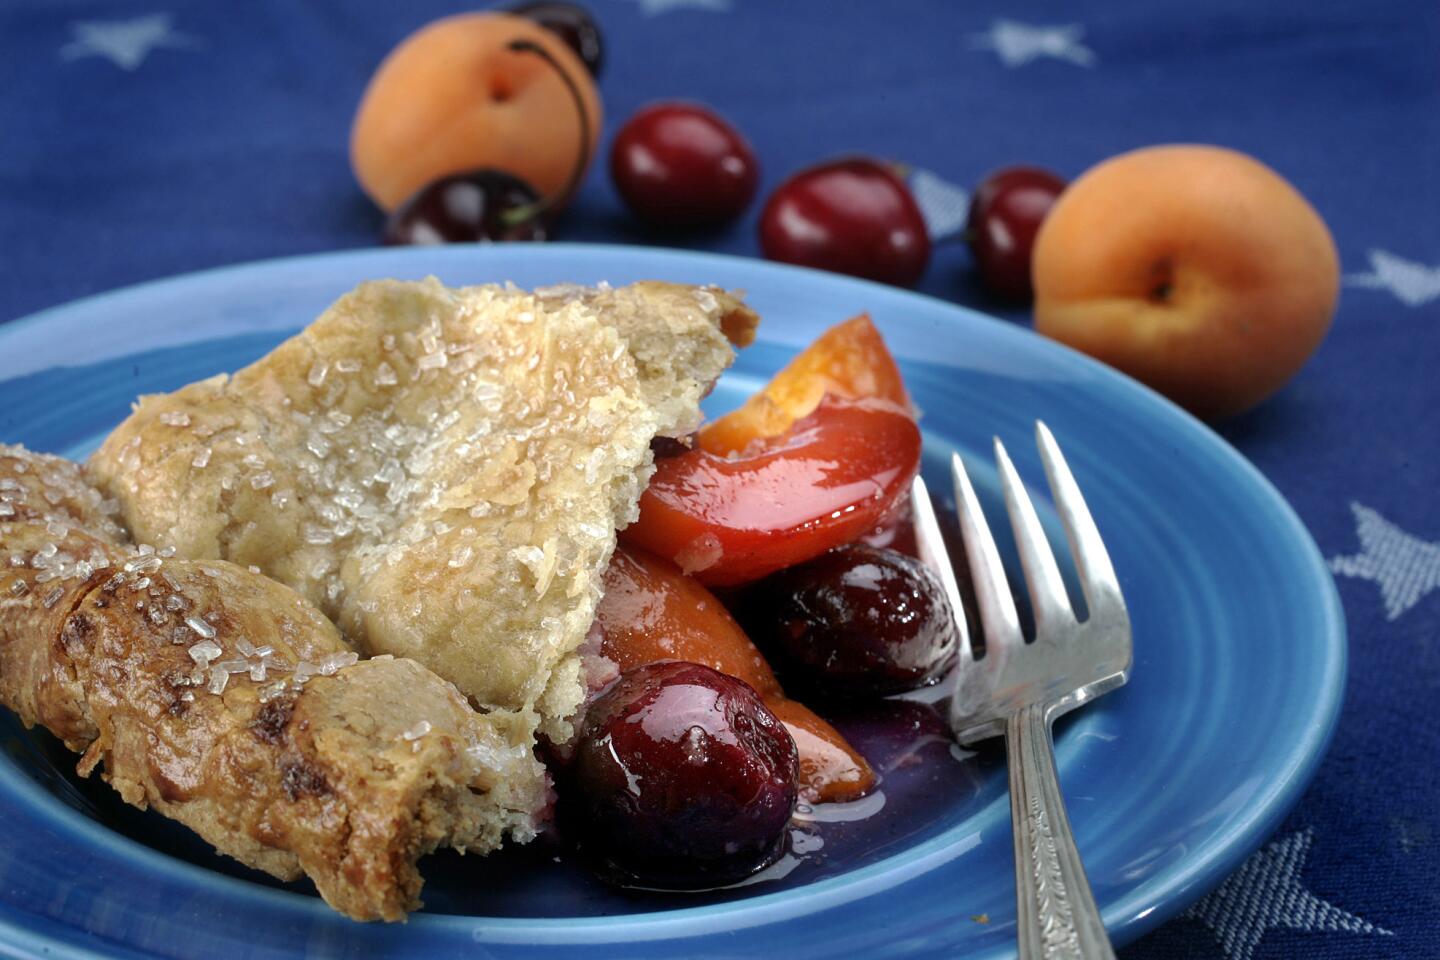
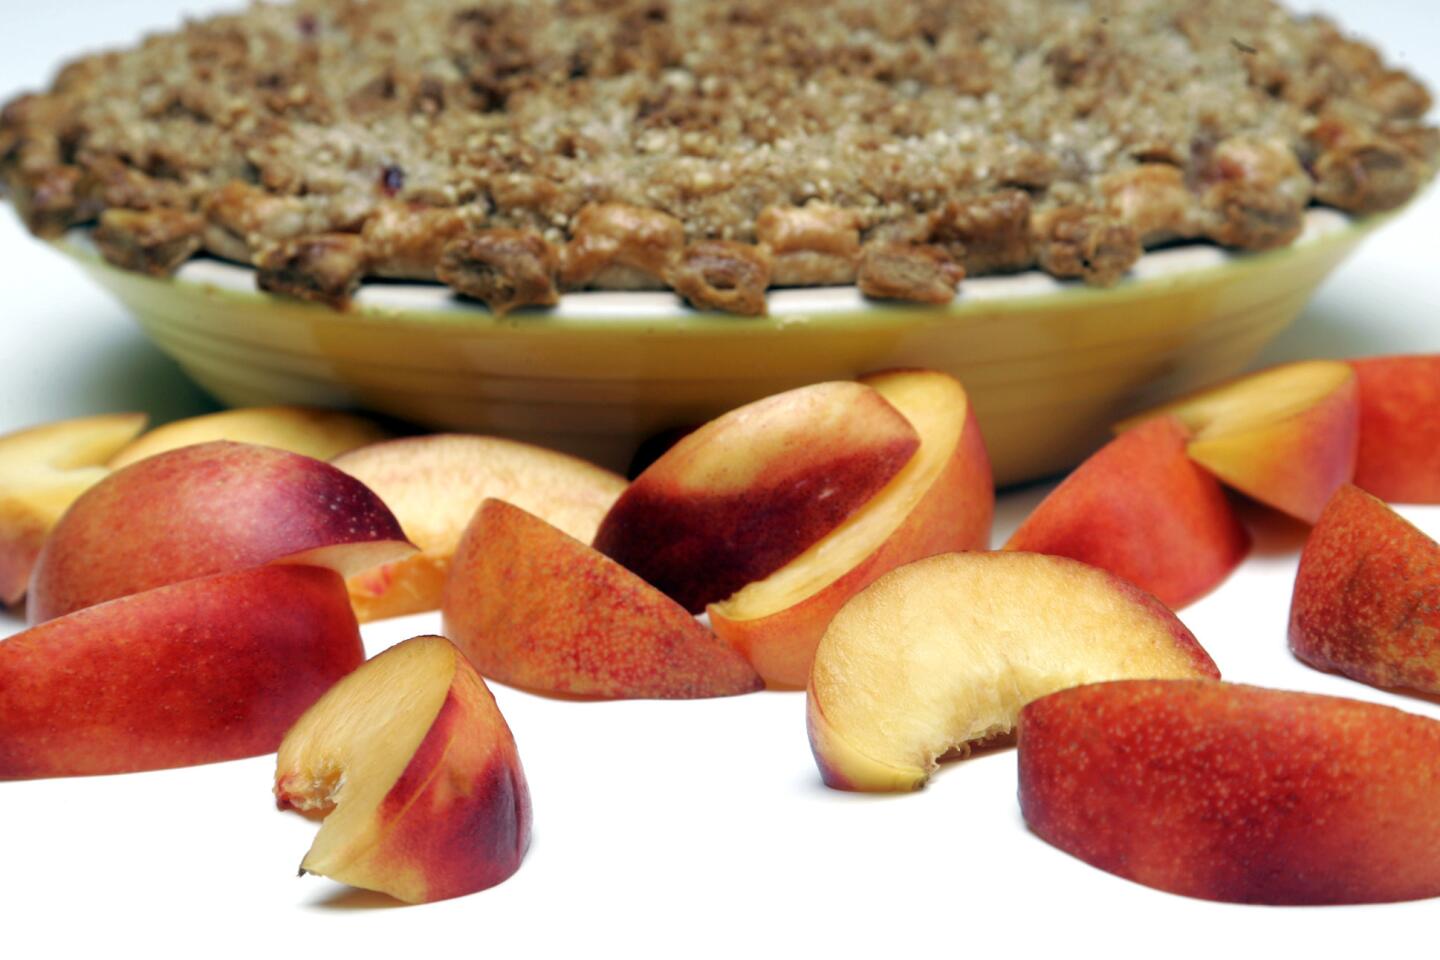
The key to a great fruit pie is choosing the right fruit; even under a double crust, quality shows. Under-ripened fruit can be tough and often has not had a chance to develop enough sugar for good flavor. Conversely, over-ripened fruit can be too sweet and unbalanced in flavor, not to mention too soft for good pie texture.
The trick is to keep it simple. Let the fruit speak for itself by not disguising it with a bunch of other flavors. Keep in mind that as the fruit cooks, the flavors will evolve and soften with natural sweetness.
It’s all a matter of taste, but I tend to go a little lighter with the sugar in my pies because of this, to keep the complexity of the fruit flavor at the forefront.
FRUIT PIE THICKENERS
As the fruit cooks, it softens, releasing its juices. To keep these juices from turning the pie into a soup as it bakes, a thickener is added. There are several to choose from, with the most common being flour, cornstarch and tapioca.
Although all of the thickeners set up the filling for slicing, each has its characteristics and strengths.
Flour tends to have weaker holding power, and more of it must be used to “set up” a pie filling. But it’s readily available, has a creamy texture and can gently soften the flavors in the filling. When the pie sets, a flour-thickened pie filling tends to have a cloudy appearance with thicker texture.
Cornstarch, on the other hand, has much greater holding power and will give a much more transparent though not quite clear look to the filling. Cornstarch-thickened pies tend to have softer, gel-like fillings.
Tapioca will result in a bright, clear filling, though the granules can give the filling a coarser texture.
A properly thickened pie should have a filling that is strong enough to suspend the fruit but delicate enough to give easily when sliced. Great pie fillings won’t run, but they will ooze just a little, slowly and seductively.
It’s best to make sure the pies bake until the filling is noticeably bubbling, ensuring that the thickener has had sufficient time to cook through and activate.
Give the pie sufficient time to cool after it bakes to give the filling time to set up. It can be hard not to slice into a temptingly fragrant pie as soon as it comes out of the oven, but patience is definitely a virtue here.
Now go forth and bake some pies.
If you have any gadgets, kitchen tips or questions you’d like me to explore, leave a comment below or shoot me an email at [email protected].
ALSO:
Go behind the scenes at the Test Kitchen
36 handy kitchen tips from the L.A. Times Test Kitchen
More to Read
Eat your way across L.A.
Get our weekly Tasting Notes newsletter for reviews, news and more.
You may occasionally receive promotional content from the Los Angeles Times.
