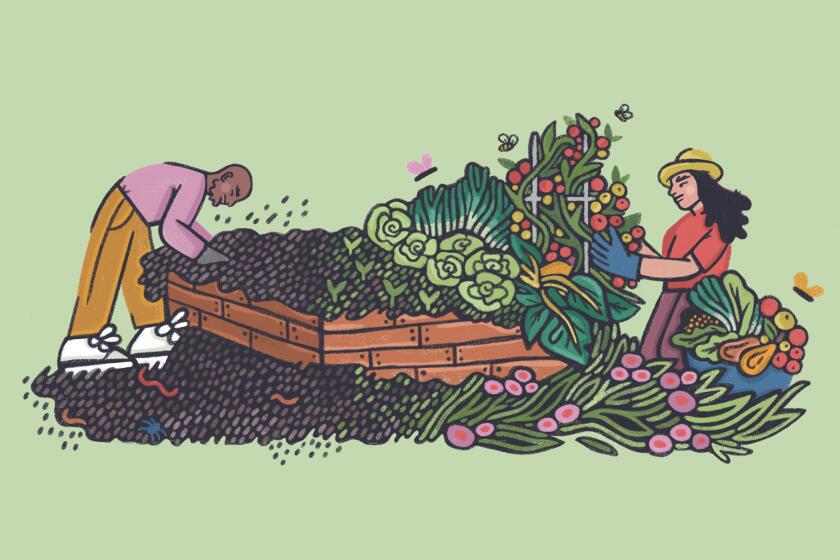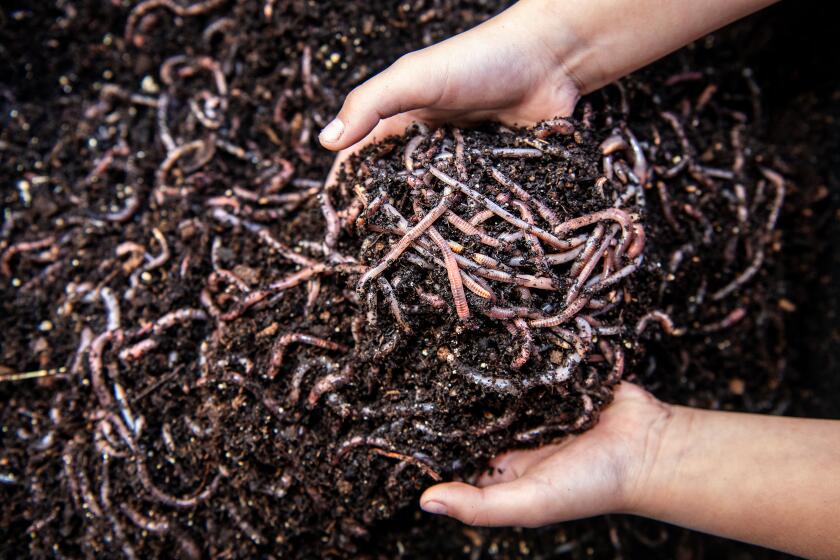
To worm or not to worm? When it comes to composting, that’s the question many savvy gardeners are pondering these days, and for good reason: Worm castings — a.k.a. poop — are the nutrient-rich organic soil amendment every plant lover covets.
Except castings are super expensive to buy, so if you’re composting anyway, why not grow your own?
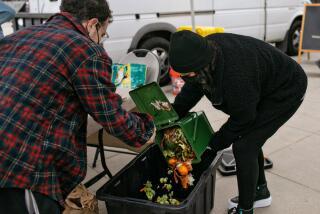
The pandemic lockdowns made many of us gardeners, in yards or containers, boosting interest and demand in Eisenia fetida — red wiggler composting worms. And this year, we became even more aware of composting thanks to new state rules that went into effect Jan. 1 mandating that local jurisdictions separate food and yard waste from landfill garbage and use it instead to create compost, mulch or biofuels. This means you and I should be dividing our kitchen scraps into separate bins to either give to our waste collectors or keep for ourselves to make compost in our kitchens or yards.
Social media is going berserk about SB 1383, California’s new food waste rules. Composting is an easy way you can tackle global warming. Here’s how.
Both compost piles and worm composting are efficient ways to keep methane-producing organic waste out of landfills while creating a nutrient-rich amendment for your garden soil.
But the compost created in a bin or pile is kind of like a minivan — a sturdy, reliable way to get your plants where they need to go. Worm composting, on the other hand, is like the Ferrari of fertilizers — a chocolate-brown, turbocharged amendment that not only performs better than synthetic fertilizers in growing healthy, high-yielding plants, according to researchers from Ohio State University, but also protects seedlings from predators and diseases, according to studies at Cornell University.
So worm composting, a.k.a. vermicomposting, is a win-win-win as far as saving the environment, building better soil and growing healthy plants.
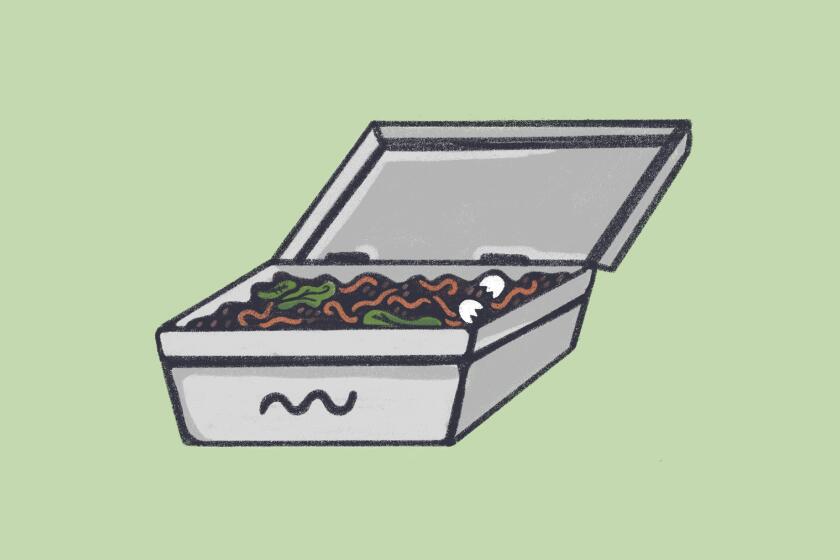
All you have to do is get a worm bin, fill it with moist bedding (typically shredded cardboard or paper), a tablespoon of compost or regular soil from the garden (to introduce beneficial microbes to the mix), a cup or two of kitchen scraps and a pound of red wigglers. Add more food a few times a week, then — presto change-o — reap the rewards of your “black gold” castings a few months later.
If all goes as it should — which, of course, isn’t always the case. To ensure your worms are surviving, thriving and ready to feast:
- Keep the bedding moist so the worms, who breathe through their skin and need a damp environment to move around, don’t dry up and die. The bedding should be wet like a damp sponge but not dripping, said Chris Jung, who’s been growing and selling worms and castings from his backyard in Glendale for some 20 years.
- Keep your worm bin out of the sun, in a shady spot or even inside your kitchen where you can easily feed them scraps. Temperatures in the 90s or 100s can dry out a bin and cook your worms, especially if your bin is made from plastic.
- Don’t overfeed your worms — the biggest problem of all. As the uneaten food piles up, it starts decomposing, making a stink, heating up the bin and cutting off the oxygen — another essential that worms need to survive.
How do you know you have a problem? If you open your worm bin and it smells bad and all the worms are pushing against the lid in a writhing ball, that’s a good indication that your bin is getting too hot from excessive decomposing materials, cooking your worms alive, said John Craig, owner of Hart’s Worm Farm in Irvine.
In other words, these worms are living creatures and they require more tending than just throwing kitchen scraps in a bin, said Shelley Grossman, a Carlsbad-based master composter and co-author of “Recycle With Earthworms: The Red Wiggler Connection.” But she still thinks raising worms is easier than other forms of composting.
“You can drive yourself crazy with composting. It’s labor-intensive, you really work your back (turning the contents), you have to pay attention to layering or you get a stinking mess. ... If you want to do it correctly, it takes a lot more effort than worms are ever going to take,” Grossman said.
With worms, “That’s their job, to turn everything over in the bin. I’ve had children involved, people with disabilities. I haven’t run across anyone who couldn’t do it if they have the will. It’s not going to carve up your life. It’s very labor unintensive.”
That being said, Grossman, Jung and Craig all have suggestions for making a successful start.
1. Learn the worm composting basics
Craig said he won’t sell people worms until they can tell him they’ve set up their bins and know how to proceed. He strongly recommends another book, “Worms Eat My Garbage: How to Set Up and Maintain a Worm Composting System,” a slim easy-to-read guide self-published in 1982 by biologist Mary Appelhof, which is still going strong 40 years later.
A few basic things to know: Eisenia fetida or red wiggler worms are surface-dwelling worms — they don’t burrow deep in the soil like nightcrawlers. You’re more likely to find them in nature underneath a rock or in decomposing leaves on the forest floor. They need a dark, moist medium to live in, Grossman said. “There has to be enough moisture in the bin for them to slide through. If it’s not moist, they can’t move.”
Composting worms are hard to find in Southern California these days. Here’s how to find local worm farmers, including a young sibling team.
Worms don’t have teeth, so they don’t “chomp” anything. Instead, worms rely on a village of bacteria, molds, fungi, pill bugs and other beneficial microbes to break down the food so they can eat it with their microscopic mouths.
You should always add a tablespoon or so of plain garden soil or compost to your bin to introduce beneficial microbes to the mix, as well as a spoonful of sand or powdered eggshells to add grit, which helps the worms process the food through their crops and gizzards.
You’ll get worm castings (and plain old compost) faster if you make your food scraps smaller. The brother-sister team of Will’s Worms in Studio City — Will and Alyssa Hatanaka (and their “consultant” dad, Kevin) have a video on their YouTube channel showing how they prepare a finely ground meal for their worms with ingredients like eggshells, pulverized dolomite limestone and unmedicated chick starter.
But breaking down the food isn’t mandatory, said Grossman. She believes it’s more important to weigh the food you are adding to make sure you don’t overfeed your worms — no more than a half-pound of food a day for a pound of worms, probably only two or three days a week.
Try burying the food in different parts of the bin each time you feed the worms. If you establish a pattern, you can more easily keep track of how well the food is being eaten.
Brandy Williams is an artistic landscaper who paints with plants — one luscious succulent at a time — through her business Garden Butterfly.
“You don’t want to overfeed them, because the excess food will just start decomposing and heat up,” said Grossman, “and your worms won’t have any place to go to escape so they’ll die.”
2. Buy, or create, a vermicomposting bin

The choices here are endless, including in-ground systems designed to let worms slide in and out of the bin to escape extreme temperatures; funnel-shaped continuous flow-through bags or devices that allow you to harvest castings from the bottom while the worms feed near the surface; and stacking tray bins like the round Can-O-Worms (about $115 at Home Depot), designed years ago by Appelhof. These use a migration system, getting the worms to move to a higher tray in search of food once the lower tray is full of castings.
Or you can just purchase a lidded heavy-duty plastic storage bin from the hardware store that has more surface area than depth. It doesn’t have to be more than a foot deep, Grossman said, because red wiggler worms are top feeders.
If you’re using a plastic bin, make sure it’s not clear, because the worms prefer a dark environment.
Worm farmers don’t always agree on the best bins. Jung, for instance, likes the Can-O-Worms for home worm farms because it’s compact, with good surface area, and easy to use.
Craig thinks in-ground systems are “the least-likely-to-fail bins” because they make it easier for worms to escape if the conditions in their bins get too hot or cold. But Grossman has doubts that red wiggler worms can live in the soil outside the bin unless it’s consistently moist and there is plenty of leaf litter or mulch in the surrounding garden to give them shelter.
All agree that the worst thing people can do is buy a pound of red wiggler worms and throw them in your garden bed. Unlike nightcrawlers, who burrow deep in the ground and find food, the red wigglers won’t survive unless they have food and continuously moist conditions near the surface.
And all three think DIY worm bins are a great option, especially if you’re recycling something from home. Craig, for instance, has been experimenting with drilling holes in Quik-Tube building forms from hardware stores, cutting them in half and burying them in the garden with just a few inches above the ground to add bedding, worms and food.
A final note: Make sure you keep your bin covered to keep out light and critters who want to eat the worm food and the worms. If you use a plastic storage bin, drill a dozen or so holes into the lid to ensure oxygen flow. Even a piece of cardboard held down by a rock will work, but Craig loves using discarded trays of wheat grass that he gets from local juicers. The grass roots hold the “lid” together while helping to keep the surface moist.
3. Maintain your worm bin with the best bedding
One thing to realize is that your worms will eat their bedding, just like their food, so it’s important to use water-absorbing materials they can safely ingest. Some people use coconut coir, which can be expensive on its own, or peat moss, which is not sustainable, according to worm experts.
Instead, they recommend a mix of well-moistened coconut fiber with well-soaked paper (including newspaper or even glossy paper) and corrugated cardboard. Red wigglers LOVE cardboard — probably because of all the cellulose, said Grossman.
Some people invest in industrial shredders to chop up their cardboard and paper before they give it a soak, but you can achieve a similar outcome by soaking pieces of cardboard and paper for one or two days and then ripping those papers into small pieces. Be sure to let the soaking water sit for 24 hours or so before adding the paper to allow chlorine and other chemicals in the water to dissipate.
Important note: Some coconut coir can be salty, so it’s a good idea to soak it for 24 hours to leach out any salt, which is deadly to worms. Throw out that soak water and add clean water to be sure the coir is suitable for use.
More and more people are arriving in the towns along Highway 62 near Joshua Tree National Park. In their eagerness to feel those desert vibes, they’ve set off a full-blown boom.
The goal with the bedding is to keep it fluffy and moist so the worms can easily slide through and get plenty of oxygen. Some people add dry leaves or grass clippings to their bedding, but the experts suggest keeping those additions to a minimum.
Grass clippings and leaves can easily mat and compact, reducing oxygen in the bin and suffocating the worms. And grass clippings in particular are high in nitrogen, so they can encourage the bin ingredients to heat up, creating more problems for the worms. Best to leave lawn clippings on the grass, where they provide excellent natural fertilizer.
Grossman recommends filling your bin almost to the top with bedding so you can easily bury the food scraps. Remember, the worms won’t go deeper than about 12 inches, so keep the food buried but close to the surface. As the worms eat their bedding and food, they will fill the bin with their castings.
One other tip: Keep at least one 10-gallon bucket of cardboard and paper soaking in water all the time so you can add a little additional bedding every time you feed your worms, Grossman said. The worms won’t be happy if there’s only a few inches of bedding in their bins.
4. How (and what) to feed worms
Once your bin is set up, add a pound of worms and wait a few days or even a week to let the worms settle in. They need time to get adjusted to their new surroundings, Craig said, and if they get hungry they can snack on their bedding.
Just make sure to keep the bedding moist. A spray bottle with distilled water (or tap water that’s been sitting for 24 hours to dissipate any added chemicals) is handy.
Once you’re ready to add food, remember to take it slow. If you don’t have a scale, Grossman recommends adding just a cup or a cup and a half per pound of worms. If the worms and their composting “assistants” eat everything you give them quickly, you can increase the amount.
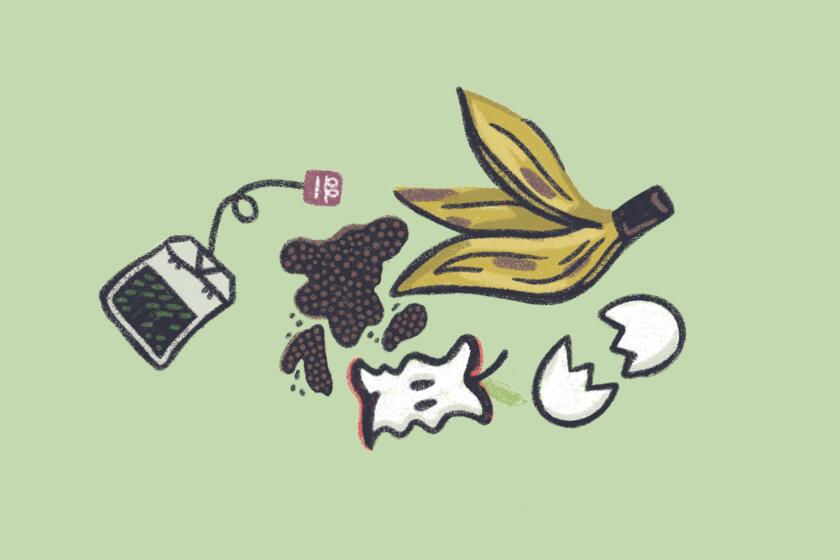
The following kitchen scraps are excellent for the mostly vegan worms:
- bread
- coffee grounds
- eggshells
- cooked vegetables
- fruit peels
Some people recommend staying away from:
- citrus
- foods in the onion family
But Jung and Craig say they’re fine in moderation. If in doubt, give the worms a little bit of the food to see if they’ll eat it, Grossman said. She’s even buried chicken carcasses in the bedding and had them picked clean, but most people don’t recommend adding meat products to worm bins because the bin is more likely to get smelly and attract pests.

The bottom line: Just be sure you don’t add too much food. If the bin starts to smell or gets too wet from drippy food, remove it immediately, Grossman said, and add fresh bedding to soak up the excess moisture.
If all goes well, in two to three months your worms will have eaten the scraps and most of their bedding, replacing it with their poop, and you can then separate your worms from the compost and walk away with your first little container of castings.
5. How to harvest worm castings
How you harvest your castings will depend on the bin you use. If you have a continuous flow-through device, you just scrape the finished castings from the bottom of the funnel while the worms feed peacefully at the top.
In a tray system, you add a second tray full of food and stop putting food in the first tray. The worms will migrate to the top tray, leaving the castings behind.
Other systems, such as a plastic tote, require you to separate the worms from the castings. Some systems are large enough that you can put the food in only one side of the bin, then harvest the castings from the other side once the worms move to the food.
Another system entails pulling all of the bedding out of the bin, with the worms, and dividing the bedding into small piles (what Craig calls “atolls”) on a flat surface. The idea here is that the worms will dive for cover to get away from the light, so after 10 or 15 minutes you can start scraping the top off the piles until you reach more worms. Wait another 10 or 15 minutes for them to dive and keep doing this until all you have left is a squirming pile of worms, anxious to get back into the dark!
Of course, before you start this you should have new bedding prepared so they can quickly be returned to the moist, dark environment they crave.
Drought-resistant plants like hummingbird sage and rosemary are the ideal addition to Southern California gardens.
Note that your worm population will grow only if it has enough room. Worms self-regulate their population growth according to the space around them, Jung said, so a pound of worms in a 1-foot-square bin won’t do much breeding. But if they have more space, they will procreate.
6. How to make worm tea
One great thing about making your own castings is you can easily make worm compost tea.
NOTE: This is not the leachate that collects at the bottom of bins from decaying food and condensed moisture; that’s best collected and poured into your regular compost bin, Craig said.
Most store-bought bins have spigots to make it easy to remove excess liquid. DIY composters can either add spigots to their homemade bins or just drill a hole in the bottom of their bin and put it inside another bin to capture the runoff juice.
In her book “Worms Eat My Garbage,” Appelhof also recommends adding fresh dry bedding to the top of your bin to help collect excess moisture or using a turkey baster to draw liquid out of the bottom.
Worm compost tea is made by adding the castings to water to encourage the growth of beneficial microbes. Grossman just puts a couple of handfuls of castings in an old pillowcase and lets it soak in a 5-gallon bucket overnight, using the tea the next day.
But Jung says you can make a more potent brew by adding a gallon of castings and a couple of tablespoons of molasses to 10 gallons of water and aerating it for a day or two with an aquarium bubbler. The additional oxygen and sugar stimulate the microbes to grow faster, Jung said.

“When you spray the tea on the leaves, it acts like a bug repellant,” he said, “and when it washes off the plant, it turns into fertilizer.” But the tea should be used quickly because the microbes die within a couple of days, and if left too long, the solution becomes lifeless.
Your worms will keep producing castings as long as they’re happy and eating. And as your worm population grows, you’ll have more and more for your garden, your neighbors’ houseplants and so on. Craig said he likes to put his excess castings into Mason jars and tie them with a bow for gifts.
Add a nice garden trowel or a pair of gloves, and I’d say holiday giving is a cinch for a long, long time.
Get composting
More to Read
Sign up for The Wild
We’ll help you find the best places to hike, bike and run, as well as the perfect silent spots for meditation and yoga.
You may occasionally receive promotional content from the Los Angeles Times.
